
Have you ever wanted your very own public helm repo? There are quite a few great articles out there about how to create a public repo using GitHub pages and a private helm repo for Azure Storage, but I couldn’t find one that focused on a public repo with Azure Storage.
What is a helm chart?
Helm is the de facto package manager for Kubernetes and a chart is a collection of templates powered by a template engine that easily describe your Kuberentes manifest YAML files. Essentially Helm enables you to streamline your Kubernetes deployments by allowing you to use variables in lieu of hard code values.
One of the beautiful things about Helm charts is you can share them. You can package them up as tarballs for easy distribution or you can upload them to public or private repositories to make them easily accessible and usable for future deployments.
I really got curious about this during prep for my #HelmSummit session on Helm 3 and I wanted to know if I could create my own public repo using Azure Storage. I also wondered how hard would it be to use it locally on a system that has Helm 2 and Helm 3 beta3 installed. One breaking (major) change with Helm 3, aside from the removal of Tiller, is helm serve has been removed as a command. Helm serve used to allow one to locally serve a helm repository, but it didn’t really help in the big picture since its sharing scope was limited. Another change is the stable helm repo (collection of charts maintained by the helm community) is no longer included by default; in fact, according to the Helm Blog post about Helm 3 beta1, the Helm stable repo will be deprecated throughout the life of Helm 3 as the community project has decided to “[move] to a distributed model of repositories that can be searched by the Helm Hub.” With this in mind, I set out to test out setting up a distributed public repo using Azure Storage.
Step by Step
Admit it, you were singing the “Step by step” song too. Ok, maybe it was just me.

Spoiler alert: I wrote a shell script that will help automate this. The full script is provided here for convenience and educational purposes.
Let’s break down what’s actually happening in the script though.
Using Azure CLI, which is cross platform by the way, I was able to set all of this up in less than 5 minutes. First, you have to log in to your Azure Account.
You can login to your Azure account via the command line by typing the following:
azure login
Now, in the below code examples (and my shell script) you’ll notice I’m using environment variables. I find it easier to dump all these commands in a script and use variables; this allows for easy reuse for future projects (and allows me to easily share my code with you, the reader). You can modify the suggested code accordingly in your own shell script, or just simply paste them into your terminal after you have modified them.
rg=myresourcegroup
location=eastus
blobStoreName=jdh3
containerName=helm
helmRepoName=jdhelm
Once we are logged in and decide what we are going to call our resource group and storage account, we have to create a resource group to put these resource objects. We can do that through the following command:
az group create -n $rg -l $location
Next, we create the storage account using the following command:
az storage account create \
-n $blobStoreName         \
-g $rg                    \
-l $location              \
--sku Standard_LRS        \
--kind BlobStorage        \
--access-tier Cool

# access-tier accepted values:
# Hot - Optimized for storing data that is accessed frequently.
# Cool - Optimized for storing data that is infrequently accessed and stored for at least 30 days.
Now, in order to interact with our storage account from the command line we need our STORAGE_ACCOUNT and STORAGE_KEY in accessible variables. We can do that by running the following two export commands:
export AZURE_STORAGE_ACCOUNT=$blobStoreName
export AZURE_STORAGE_KEY=$(az storage account keys list --resource-group $rg --account-name $blobStoreName | grep -m 1 value | awk -F'"' '{print $4}')
Next, we create our actual container (AWS calls this a bucket, but Azure calls it a container) to hold our blobs (files).
az storage container create \
--name helm                 \
--public-access blob
Our helm chart container repo storage account is now created, but we need to initialize it so it knows we plan to store helm charts there. If we were try to run helm repo add at this step, we would get an error since there isn’t anything in it identifying it as a helm chart repo yet.
Note: If you’re using Helm3 via my Helm3 setup script you can replace all of the helm binary references below with h3 since h3 is used as an alias to the Helm3 binary path.
If you have an existing helm chart you’d like to upload you can navigate to that directory and run the following command:
helm repo index --url https://$blobStoreName.blob.core.windows.net/helm/ .
Hint: Be sure to update the $blobStoreName accordingly or export the variable to your local command line
If you do not have a helm chart repo and you’re just getting started you can run the following commands to create an empty directory and create a blank chart:
mkdir chart-test && cd chart-test
helm create myfirstchart
helm lint myfirstchart
helm package myfirstchart
helm repo index --url https://$blobStoreName.blob.core.windows.net/helm/ .
The helm repo index command will create a yaml file in your working directory similar to the following example:
apiVersion: v1
entries:
  myfirstchart:
  - apiVersion: v2
    appVersion: 1.16.0
    created: "2019-09-10T19:33:33.874093+02:00"
    description: A Helm chart for Kubernetes
    digest: e0dd2e51bbdfabdcac4794975e41ce59ad388cd42385bb6086b8c2a2f1daea8a
    name: myfirstchart
    type: application
    urls:
    - https://blobStoreName.blob.core.windows.net/helm/myfirstchart-0.1.0.tgz
    version: 0.1.0
generated: "2019-09-10T19:33:33.872565+02:00"
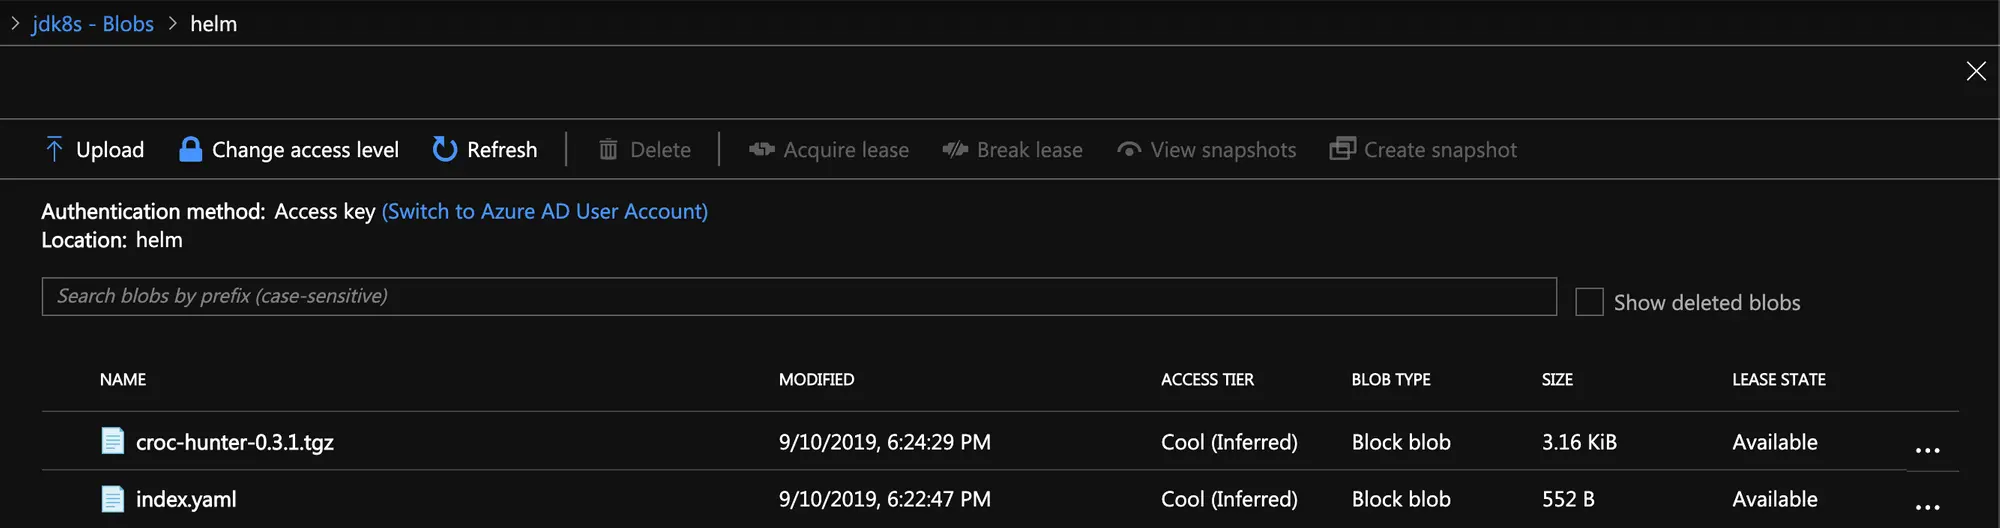
Now that we have both our Helm Chart package (the file will end in .tgz) and our index.yaml, we need to upload both files to our Azure Storage account.
Note: If you run these commands outside of a script, you will need to ensure you have exported your AZURE_STORAGE_ACCOUNT and AZURE_STORAGE_KEY variables again in order to upload files to your storage container.
az storage blob upload --container-name $containerName --file index.yaml --name index.yaml

az storage blob upload --container-name $containerName --file *.tgz --name *.tgz
After both files are uploaded we can officially add our new Azure Storage public Helm repo using the following command:
helm repo add repoName https://$blobStoreName.blob.core.windows.net/helm/
Hint: Remember to update the $blobStoreName accordingly or export the variable to your local command line
You can then verify your repo has been added by running the helm repo list command:
helm repo list
If you’d like to find your chart in your new Azure Storage Public Helm Repo you can do that using helm search. Here’s an example:
helm search myfirstchart

NAME                    CHART VERSION   APP VERSION     DESCRIPTION
jdhelm/myfirstchart     0.1.0           1.0             A Helm chart for Kubernetes
Now, to install the newly uploaded chart from my own public helm repo I would just run helm upgrade --install with a reference to my helm repo and chartname. Here’s an example:
helm upgrade myfirstchart --install --namespace default jdhelm/myfirstchart

Release "myfirstchart" does not exist. Installing it now.
NAME:   myfirstchart
LAST DEPLOYED: Thu Sep 19 15:36:25 2019
NAMESPACE: default
STATUS: DEPLOYED

RESOURCES:
==> v1/Deployment
NAME          READY  UP-TO-DATE  AVAILABLE  AGE
myfirstchart  0/1    1           0          0s

==> v1/Pod(related)
NAME                           READY  STATUS             RESTARTS  AGE
myfirstchart-59f5746689-lv4bf  0/1    ContainerCreating  0         0s

==> v1/Service
NAME          TYPE       CLUSTER-IP      EXTERNAL-IP  PORT(S)  AGE
myfirstchart  ClusterIP  10.109.119.170  <none>       80/TCP   0s


NOTES:
1. Get the application URL by running these commands:
  export POD_NAME=$(kubectl get pods --namespace default -l "app.kubernetes.io/name=myfirstchart,app.kubernetes.io/instance=myfirstchart" -o jsonpath="{.items[0].metadata.name}")
  echo "Visit http://127.0.0.1:8080 to use your application"
  kubectl port-forward $POD_NAME 8080:80
What happens next?
Of course this post just helps you get started by adding a single chart to your new helm repo. At some point you will want to upload additional charts. For each new chart, you’ll need to regenerate the index.yaml file. You can use the previous command helm repo index --url to rebuild your index.yaml, but this will reuild it from scratch and by default will only include the charts found locally.
Luckily there’s a flag that can make this easier: --merge. We can use the --merge flag to make incremental updates to our existing index.yaml. Here’s an example:
helm repo index --url https://$blobStoreName.blob.core.windows.net/helm/ --merge index.yaml .
From there, you can upload the newly merged index.yaml with your additional helm packages. Shout out to Mattia Peri for this reminder!
That’s it! If this post helped you please share and/or leave a comment below!